
 (1)")
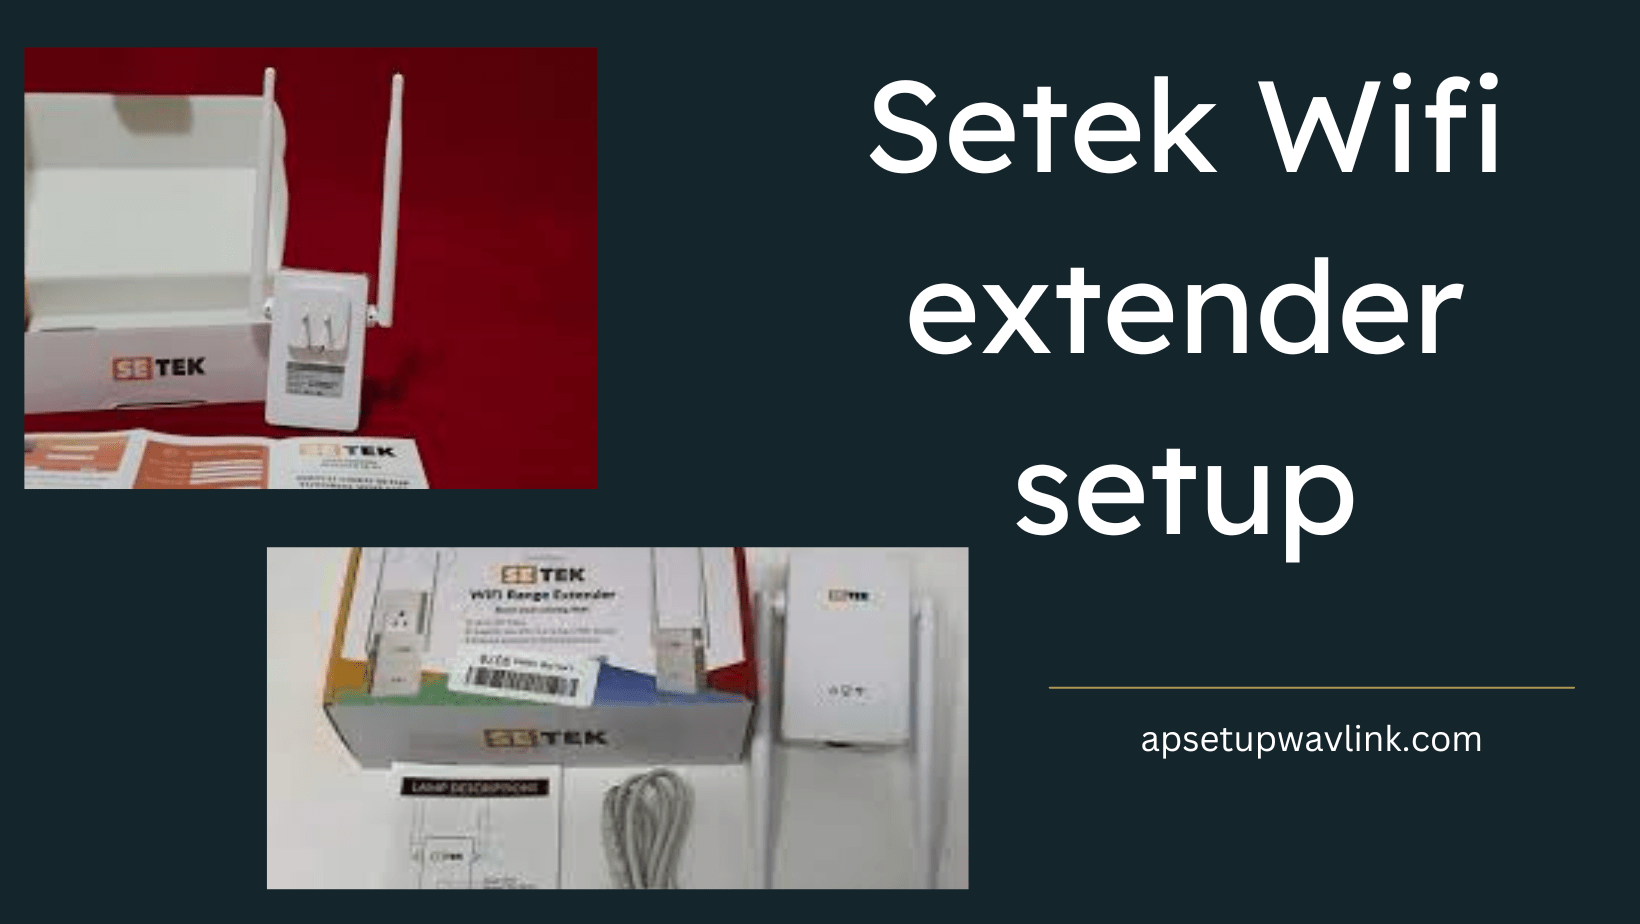
Welcome to the ultimate guide for your Setek WiFi extender Setup. Whether you’re new to networking or a seasoned pro, this comprehensive guide will walk you through every step of the process, ensuring a seamless experience from start to finish.
Setek WiFi Extender Setup via WPS Button
Setting up your Setek WiFi extender using the WPS (WiFi Protected Setup) button is quick and effortless. Here’s how to do it:
-
Locate the WPS Button: Find the WPS button on your Setek extender. It’s usually located on the side or back of the device.
-
Press the WPS Button: Press and hold the WPS button on your extender for a few seconds until the WPS LED indicator starts blinking.
-
Activate WPS on Your Router: Within two minutes of pressing the WPS button on your extender, press the WPS button on your router.
-
Wait for Connection: Allow a few moments for the extender to establish a connection with your router. Once connected, the WPS LED indicators on both devices should become solid, indicating a successful setup.
-
Optimize Placement: For optimal WiFi coverage, place your Setek extender halfway between your router and the area with poor WiFi signal reception.
Setek WiFi Extender Setup via Web Browser
If you prefer a more manual approach or require additional customization options, you can set up your Setek WiFi extender via a web browser. Follow these steps for a seamless setup:
-
Connect to the Extender: Use an Ethernet cable to connect your computer or mobile device to the Setek extender. Alternatively, connect to the extender’s WiFi network.
-
Access the Web Interface: Open a web browser and enter the default IP address of the extender (usually 192.168.0.1 or 192.168.1.1) in the address bar. Press Enter to access the login page.
-
Login to the Extender: Enter the default username and password (typically admin/admin) or the credentials provided in the user manual.
-
Follow Setup Wizard: Once logged in, follow the on-screen instructions provided by the setup wizard. Configure your extender settings, including WiFi network name (SSID) and password.
-
Finalize Setup: After completing the setup wizard, save your settings and wait for the extender to reboot. Once rebooted, disconnect the Ethernet cable (if used) and reconnect to your main WiFi network.
Factory Reset and Firmware Update
To maintain optimal performance and resolve any potential issues, it’s essential to perform factory resets and firmware updates on your Setek WiFi extender. Here’s how:
Factory Reset
Performing a factory reset restores your extender to its default settings, erasing any custom configurations. Follow these steps to perform a factory reset:
-
Locate Reset Button: Find the reset button on your Setek extender. It’s typically a small pinhole button located on the side or back of the device.
-
Press and Hold Reset Button: Using a paperclip or similar tool, press and hold the reset button for at least 10 seconds.
-
Wait for Reboot: Release the reset button and wait for the extender to reboot. The LED indicators will flash during the reboot process.
-
Reconfigure Settings: Once the extender has rebooted, you’ll need to reconfigure your settings using either the WPS method or via the web browser interface.
Firmware Update
Keeping your extender’s firmware up to date is crucial for optimal performance and security. Follow these steps to update the firmware:
-
Check for Updates: Log in to the web interface of your Setek extender and navigate to the firmware update section. Check for any available updates.
-
Download Firmware: If an update is available, download the latest firmware version from the manufacturer’s website and save it to your computer.
-
Upload Firmware: In the extender’s web interface, locate the firmware update option and select the file you downloaded. Upload the firmware and wait for the update process to complete.
-
Reboot Extender: After the firmware update is complete, the extender will automatically reboot to apply the changes. Once rebooted, your extender will be running the latest firmware version.
Common Issues and Troubleshooting Tips
Encountering issues with your Setek WiFi extender? Here are some common problems and troubleshooting tips to help you get back online:
- No WiFi Signal: Ensure the extender is powered on and positioned within range of your router. Check for any obstructions or interference that may be affecting the signal.
- Slow or Intermittent Connection: Try relocating the extender to a different location to improve signal strength. Avoid placing it near electronic devices that may cause interference.
- Forgot Extender Password: Perform a factory reset to restore the extender to its default settings. You can then reconfigure the settings, including the WiFi password.
- Unable to Access Web Interface: Ensure you’re using the correct IP address to access the extender’s web interface. If necessary, reset the extender and try again.
By following these troubleshooting tips, you can quickly resolve common issues and enjoy a seamless WiFi experience with your Setek extender.